Written by Jared Anderson
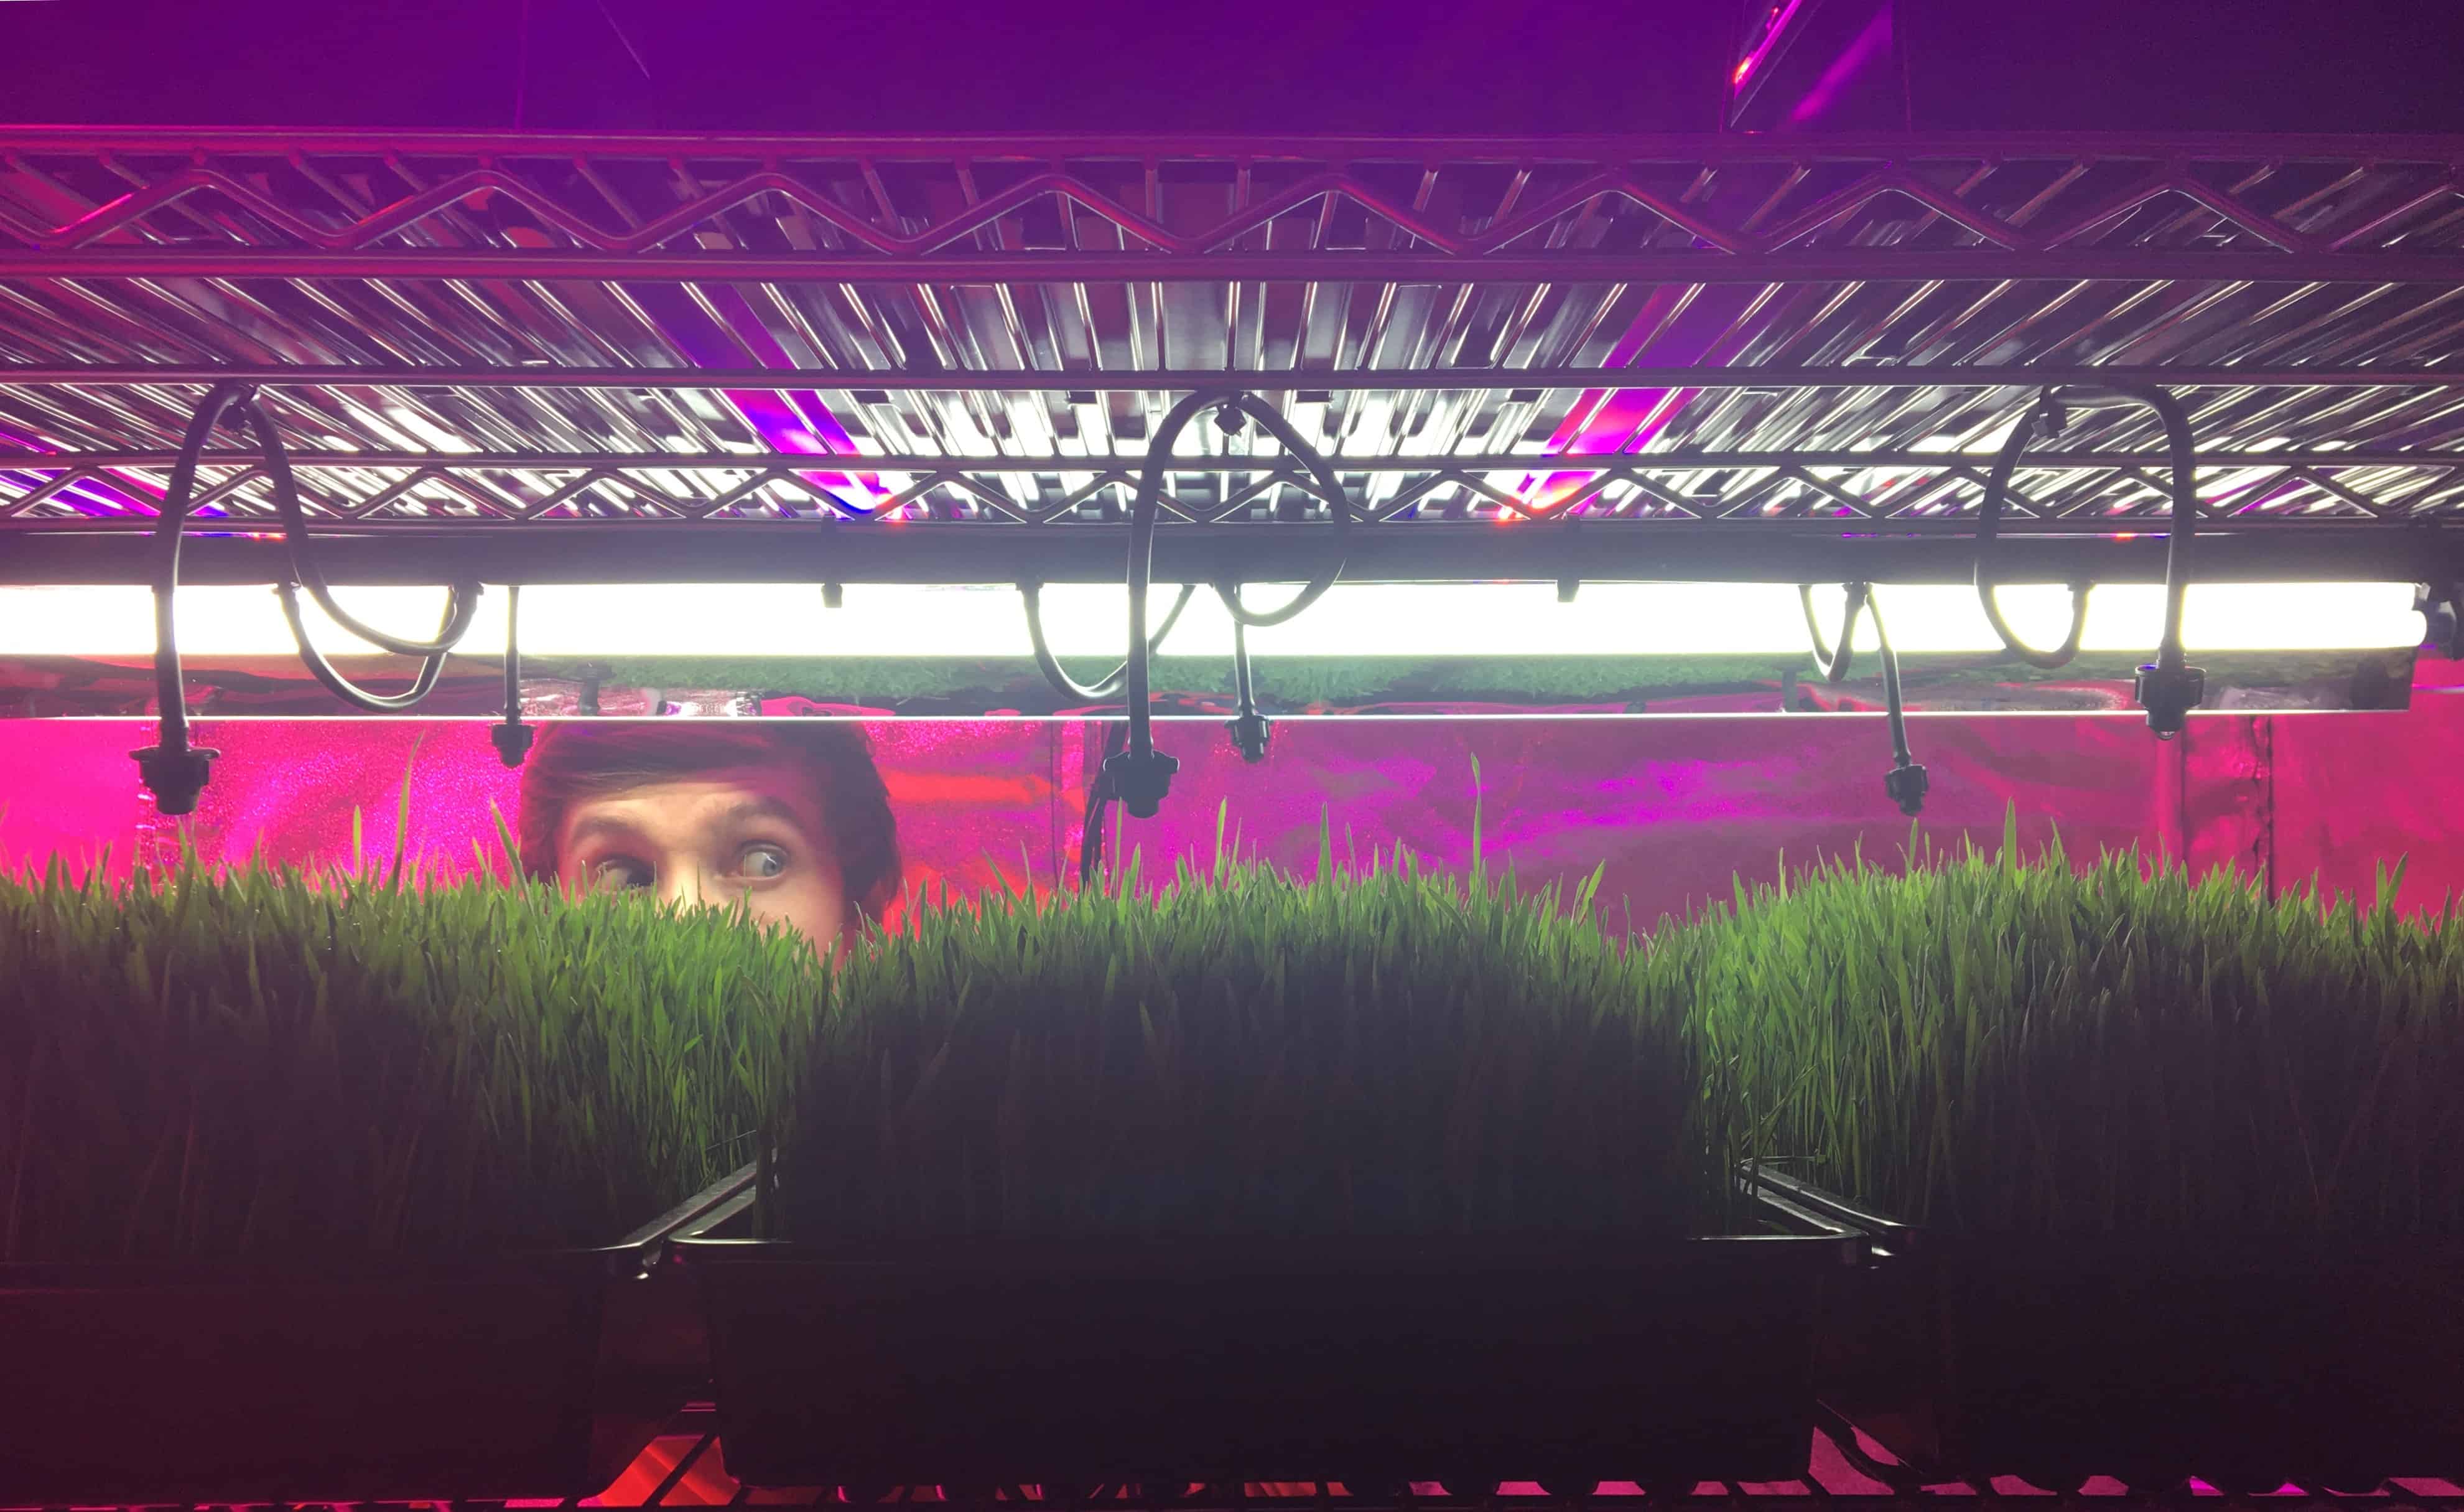
Wheatgrass has been a long-time staple of the health community and has never been easier to grow at home. I’ve been growing wheatgrass for nearly a decade now and regularly consume wheatgrass juice. It gives me a nice energy boost and I can really feel the difference. We’ve put together an easy to follow guide on how you can begin growing wheatgrass at home and be ready to juice in as little as 14 days.
Table Of Contents
What Is Wheatgrass?
Wheatgrass is exactly what it sounds like, grass of the wheat plant, Triticum aestivum, harvested within about two weeks of planting. Due to the concentrated amount of vitamins and minerals wheatgrass continues to be studied for its medical benefits.
What Are The Health Benefits Of Wheatgrass?
Wheatgrass is absolutely jam-packed with essential vitamins, minerals, amino acids and enzymes. It contains a multitude of minerals like boron, calcium, iron, magnesium, potassium, and zinc. It’s loaded with Vitamins A, B complex, C and E. You may be surprised to find out that Wheatgrass contains more Vitamin C than Oranges and more Vitamin A than carrots, ounce for ounce. Studies have shown it to have anti-cancer, anti-ulcer, anti-inflammatory, antioxidant, anti-asthmatic and anti-arthritic properties. Wheatgrass has been shown to help reduce hair loss and graying.
Wheatgrass is also considered a ‘complete protein’. This means, of it’s 17 amino acids, it contains all 8 that are considered essential. Wheatgrass’ clinical function is largely due to its antioxidant properties derived from its high content of flavonoids, such as apigenin and luteolin.
Wheatgrass has also been shown to be an effective method for treating inflammatory bowel disease. Many animal studies in rats and rabbits have shown wheatgrass to reduce ‘bad’ LDL cholesterol and triglycerides.
Studies estimate that drinking one ounce of wheatgrass juice has the vitamin and nutrient equivalence of consuming two and a half pounds of leafy greens. leafy green vegetables.
Is Wheatgrass Safe?
Yes, for the majority of people wheatgrass is not only safe, it’s great for you. Anyone with allergies to grass, wheat, gluten or those suffering from Celiac disease may need to steer clear of wheatgrass.
The wheatgrass berry or seed is what contains gluten, not the grass itself. Wheatgrass is also very susceptible to mold. So whether you’re buying it at the store or growing it at home, be on the lookout for it towards the base of the grass.
There are some reports of people experiencing diarrhea, nausea or even headaches of consuming wheatgrass juice, capsules, etc. It’s suggested to start with a small amount at first and assess how you feel. If you have any concerns it may be best to first consult with your doctor, allergist, etc.
Why Is Wheatgrass Juice Called ‘Green Blood’?
Wheatgrass juice is commonly referred to as ‘green blood’ for a few different reasons: First, being the obvious one, the high amounts of chlorophyll gives the juice it’s rick dark green color. Chlorophyll bears structural similarity to hemoglobin, and studies have shown it to be a successful alternative or substitute for it in patients suffering from things like Beta-thalassemia, and other hemoglobin deficiency conditions.
Growing Without Soil
Hydroponic Wheatgrass Growing Supplics:
- Hard Red Winter Wheatgrass Berries (seeds)
- 10″ x 20″ Grow Tray With Holes x 2
- 10″ x 20″ Grow Tray Without Holes x 2
- Garden Sprayer
- Kitchen Scissors or Non-serrated Kitchen Knife
- Biostrate Grow Medium
- Measuring Cup
- Mesh Straining Bag
- pH Test Kit
- Clean Water
- Scissors
- Food-safe bucket, bowl, jar, container, etc. x 2
- Growlight
Hydroponic Wheatgrass Growing Instructions:
- Using the measuring cup, measure out 2 cups of wheatgrass berries (seeds).
- Pour the seeds from the measuring cup into your mesh straining bag.
- In the bag thoroughly rinse the wheatgrass berries until the water runs clear.
- Fill a food-safe container with enough (portable) water so the wheatgrass berries are fully submerged.
- Let the wheatgrass berries soak for 12-18 hours in a cool dark place.
- After the wheatgrass berries have soaked, drain the water.
- Cut a piece of the biostrate grow medium to fit in one of the 10″ x 20″ grow trays.
- Saturate the cut piece of biostrate grow medium in water at a 6.5 pH.
- Wring out the piece of grow medium so it’s not dripping wet and place it in one of the grow trays with holes with a tray without holes below it to capture excess water.
- With clean hands, spread the wheatgrass berries evenly across the piece of biostrate grow medium. Be sure there aren’t large clumps of them on top of eachother or stuck together to assist with germination and help to prevent mold.
- Now fill your garden sprayer with clean water balanced to 6.5 pH and lightly spray the wheatgrass berries in the tray.
- With your other grow tray without holes, place it upside down over the top of the tray and place it somewhere it will not be disturbed.
- Set a timer to check the trays roughly every 12 hours to water. Depending on the temperature and humidity of the room, will determine if it needs to be watered every 12 hour period. For most people once per day is adequate.
- Within the first 24 hours of being put in the trays you should see that the germination process is well underway with little hairlike roots starting to poke out through the berries.
- On day two flip the tray over to put pressure on top of the wheatgrass berries.
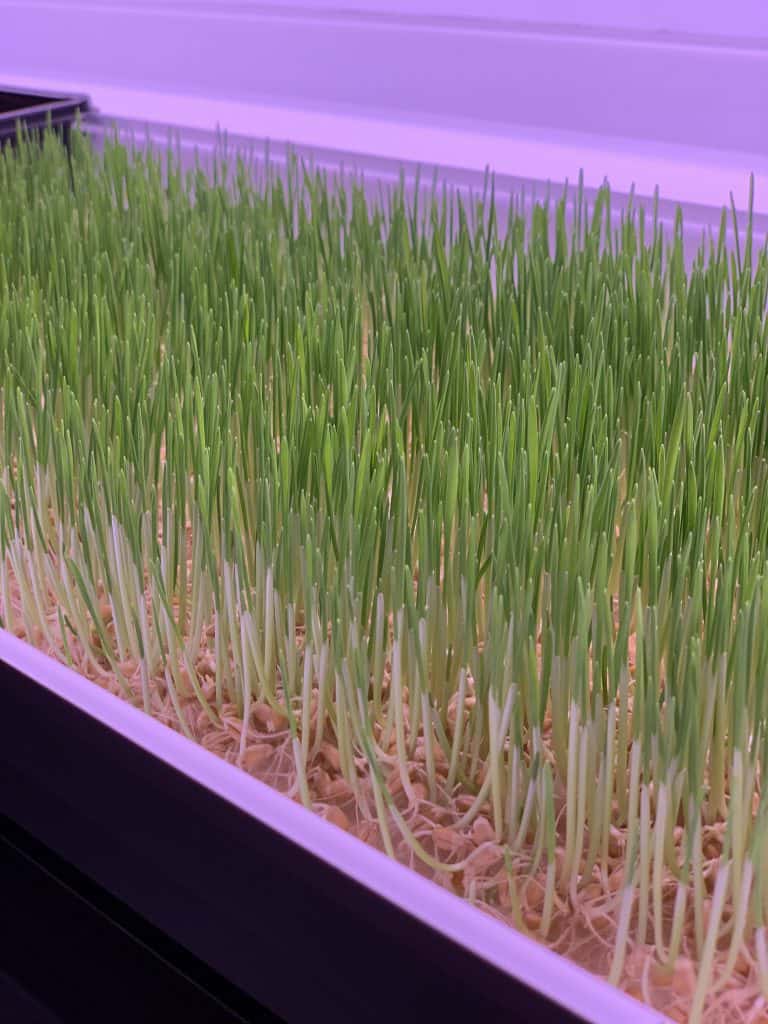
- Once you start to see the small blades of grass start to poke up, you can remove the trays and put them under the light. This is usually between day 3-5.
- Continue watering the wheatgrass daily, never letting it get over saturated which can lead to mold.
- Your wheatgrass will be ready to harvest generally between 10-14 days from start to finish. When you see the first blade of grass start to form a joint or another blade of grass, it’s definitely time to harvest.
Growing With Soil
Wheatgrass Growing Supplics:
- Hard Red Winter Wheatgrass Berries (seeds)
- 10” x 20” Grow Tray With Holes x 2
- 10” x 20” Grow Tray Without Holes x 2
- Bag Of Organic Potting Mix
- Garden Sprayer
- Kitchen Scissors or Non-Serrated Kitchen Knife
- Biostrate Grow Medium
- Measuring Cup
- Mesh Straining Bag
- pH Test Kit
- Clean Water
- Scissors
- Food-safe bucket, bowl, jar, container, etc. x 2
- Growlight
Wheatgrass Growing Instructions:
- Using the measuring cup, measure out 2 cups of wheatgrass berries (seeds).
- Pour the seeds from the measuring cup into your mesh straining bag.
- In the bag thoroughly rinse the wheatgrass berries until the water runs clear.
- Fill a food-safe container with enough (portable) water so the wheatgrass berries are fully submerged.
- Let the wheatgrass berries soak for 12-18 hours in a cool dark place.
- After the wheatgrass berries have soaked, drain the water.
- Fill one of the grow trays with potting soil, so it’s about 1” deep.
- Using the bottom of your other grow tray, pack down the soil so it’s even all the way across.
- With clean hands, spread the wheatgrass berries evenly across the soil. Be sure there aren’t large clumps of them on top of eachother or stuck together to assist with germination and help to prevent mold.
- Now Once again with the bottom of your other grow tray, use it to push the seeds into the soil.
- Now fill your garden sprayer with clean water balanced to 6.5 pH and lightly spray the wheatgrass berries in the tray.
- With your other grow tray, place it upside down over the top of the tray and place it somewhere it will not be disturbed.
- Set a timer to check the trays roughly every 12 hours to water. Depending on the temperature and humidity of the room, will determine if it needs to be watered every 12 hour period. For most people, once per day is adequate.
- Within the first 24 hours of being put in the trays you should see that the germination process is well underway with little hairlike roots starting to poke out through the berries.
- On day two flip the tray over to put pressure on top of the wheatgrass berries.
- Once you start to see the small blades of grass start to poke up, you can remove the trays and put them under the light. This is usually between day 3-5.
- Continue watering the wheatgrass daily, never letting it get over saturated which can lead to mold.
- Your wheatgrass will be ready to harvest generally between 10-14 days from start to finish. When you see the first blade of grass start to form a joint or another blade of grass, it’s definitely time to harvest.
Harvesting Wheatgrass For Juicing
When your wheatgrass is ready to harvest, you’ll need a pair of kitchen scissors (preferred) or a sharp non-serrated knife.
Grab a small handful of wheatgrass from the tops of the blades while using your scissors or knife and cut right where the blades of the grass turns white. Be sure to cut away from your hands and body.
The grow mat is completely biodegradable and can be thrown in your compost pile to provide a lot of vitamins and nutrients for the soil it will eventually produce.
Once all the grass has been harvested, I prefer to juice it all at once and store it in a mason jar but can also be put in tupperware/ziplock bag and store it in the fridge until you’re ready to use it.
Another popular option is to harvest your wheatgrass, juice it then pour it into ice-cube trays and freeze it for longer lasting use and an easy addition to a smoothie.
Related Articles
The Complete Guide To Vertical Farming | What It Is and Why It’s So Important
With demands for fresh, locally sourced, non-GMO fruits, veggies, and herbs continuing to grow, the adoption of indoor vertical farms is increasing across the globe. Find out why, these farms are so important for the future of our food.
Nutrient Film Technique 101
The Nutrient Film Technique is one of many popular hydroponic growing techniques. In fact this method is deployed across both hobbyist gardens and large commercial grow operations.
A Deep Dive On Deep Water Culture Hydroponics Systems
What is Deep Water Culture or DWC hydroponics? Check out the benefits and how easy it is to get started growing using the DWC method.

